
IMD Process Steps: From Cutting and Printing to Forming, Trimming and Molding
The nine IMD process steps: cutting, pre-shrinking, flat printing, ink curing, protective film, registration holes, thermoforming (high pressure or copper mold), trimming and injection molding.
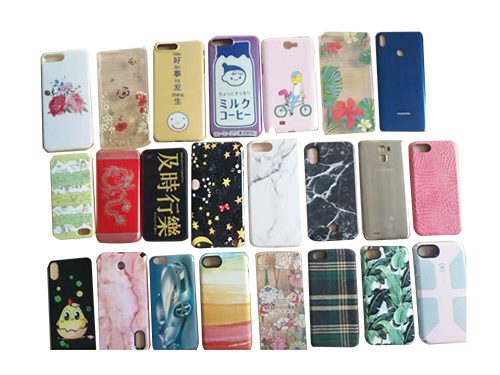
IMD decorates the outer surface of a plastic part by placing a film inside the mold. It gives a clean, attractive surface, durable sharp printing and 3D graphics. The complete sequence is:
The nine IMD steps
- Cutting: cut film from the roll into sheets of the designed size.
- Pre-shrinking: heat the sheets in an oven before printing to minimize later shrinkage.
- Flat printing: make screens and print logos and text on the sheets.
- Ink curing: dry the printed sheets in an oven so the ink cures fully and solvents evaporate.
- Protective film: apply single or double protective film so punching does not scratch the print.
- Registration holes: punch accurate holes for trimming and thermoforming.
- Thermoforming (high pressure or copper mold): heat the printed film and form it with a high-pressure machine or a copper mold; forming-mold design is critical.
- Trimming: cut away the waste with an accurate trim die.
- Injection molding: place the formed film on the cavity side and mold the IMD part.
Practical tip
For simple IMD shapes, the original article recommends die-cutting the outline first to save film.
Step 7 can use hot presses such as the IMD phone case hot press; step 8 the IMD/IML part die-cutting machine. Who does what: IMD/IML thermoforming machines: process and applications.
Adapted from an article published on SANSEN's original Chinese website (sansendg.com) on 2022-02-16. The text was edited and restructured; technical content follows the original.